Canvas Particles
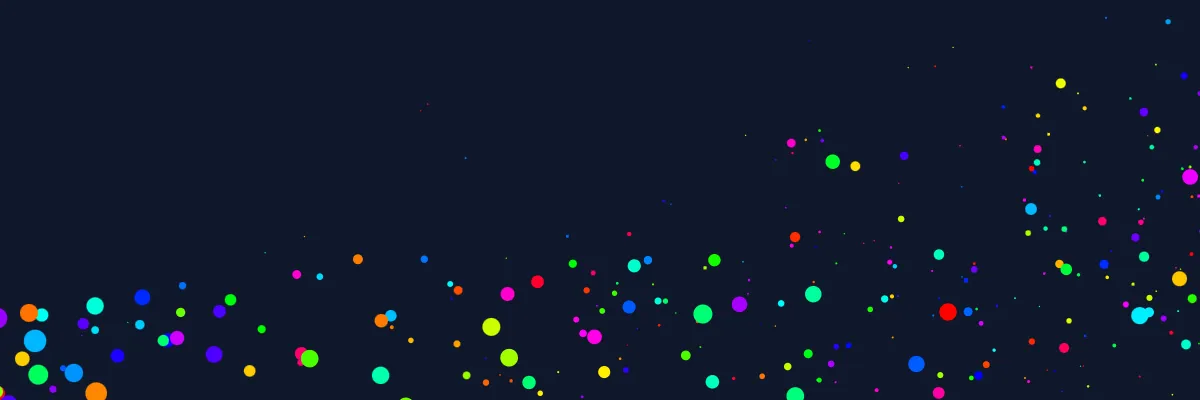
In this post, we’re diving into the world of particle systems using the canvas API. Particle systems are a fun and visually stunning way to create effects like explosions, smoke, or even fireflies. In this example, I’ll be showing off a simple system that spawns particles at the mouse position. Each particle will move, bounce around the canvas, fade out, and finally disappear, creating an eye-catching and interactive effect.
Note: for touch based devices, it is better to us the example in fullscreen mode.
Particles
Particles are a very simple concept; They are just small elements that move around the screen. In the above and following examples, a particle is simply referring to the following data structure:
type Particle = {
  x: number;
  y: number;
  dx: number;
  dy: number;
  size: number;
  color: string;
};
and any code snippets will refer to an overall MouseParticles class which contains all the logic for the particles.
Spawning
Simply put, a particle has an x and y position, a dx and dy velocity, a size and a color. The dx and dy
values are added to the x and y values respectively on each frame, causing the particle to move. With the example
shown at the top of the post, the particles are spawned at the mouse position, with a random velocity and color.
class MouseParticles {
  // List of particles
  particles: Particle[] = [];

  /**
   * Handle a mouse move event, adding a new particle at the mouse's position
   *
   * @param event MouseEvent The mouse event from the canvas onmousemove event
   */
  handleMouseMove(event: MouseEvent) {
    for (let i = 0; i < Utils.randomInt(1, 10); i++)
      this.addParticle(event.offsetX, event.offsetY);
  }

  /**
   * Create a new particle at the given x and y coordinates and add it to the
   * list
   *
   * @param x X coordinate
   * @param y Y coordinate
   */
  addParticle(x: number, y: number) {
    const particle: Particle = {
      x,
      y,
      size: Utils.randomFloat(5, 20),
      color: `hsl(${Utils.randomFloat(0, 360)}, 100%, 50%)`,
      dx: Utils.randomFloat(-1, 1),
      dy: Utils.randomFloat(-1, 1),
    };

    this.particles.push(particle);
  }
}
Updating
This however, is just how the particles are represented in data. If we were to implement this as is, the particles would be spawned at the mouse position and then never move. To make the particles move, we need to update their positions.
function update() {
  this.particles.forEach((particle) => {
    particle.x += particle.dx;
    particle.y += particle.dy;
  });
}
Although this does get the particles moving, it brings us to another problem. The particles, once spawned, will continue to move off-screen and they do not have a lifespan (once they are spawned, they will continue to exist forever).
One approach to the off-screen movement would be to simply remove the particle if it ever left the bounds of the canvas. This, however is not that interesting, which is why in the top example, the approach taken is to simply not let the particles move off-screen and instead cause them to bounce off the walls. This can be done by simply inverting the velocity when the particle reaches the edge of the screen, causing the direction of movement to change.
// bounce off the walls
if (particle.x > this.canvas.width || particle.x < 0)
  particle.dx *= -1;
if (particle.y > this.canvas.height || particle.y < 0)
  particle.dy *= -1;
As for the lifespan of the particles, a common approach would be to add a lifespan or ttl (Time-to-live) property to
the particle, and then decrement it on each frame, removing the particle when it reaches 0. This, as done in the top
example, can also be merged with the size of the particle, since the particle will shrink as it ages, and then be
removed when it reaches a small size (visually, shrinking out of existence). This can be done by simply multiplying the
size by a value less than 1 on each frame, and then removing the particle when the size is less than a certain value.
particle.size *= 0.95;

if (particle.size < 0.5) {
  this.particles.splice(this.particles.indexOf(particle), 1);
}
Rendering
Finally, we get to the fun part. A particle system is no fun if we can’t see anything! To render the particles, we simply loop through the list of particles and draw them to the canvas, using a filled arc to represent each particle.
/**
 * Render the particles to the canvas
 */
function render() {
  // clear the canvas
  this.ctx.clearRect(0, 0, this.canvas.width, this.canvas.height);

  // draw the particles
  this.particles.forEach((particle) => {
    this.ctx.fillStyle = particle.color;
    this.ctx.beginPath();
    this.ctx.arc(particle.x, particle.y, particle.size, 0, Math.PI * 2);
    this.ctx.fill();
  });
}
Pulling it all together
The final piece of the puzzle is to simply call the update and render functions on each frame, which can be done
using requestAnimationFrame. There are several advantages of using requestAnimationFrame over a simple infinite loop
or equivalent, such as that it will automatically pause when the tab is not in focus, saving resources, and that it will
adjust the timing of the main call to match the refresh rate of the screen.
function main() {
  this.update();
  this.render();

  requestAnimationFrame(main.bind(this));
}
Conclusion
If we pull all of these pieces together, we get a simple particle system that spawns particles at the mouse position, causes them to move, bounce off the walls, shrink and then disappear.